Galaxy S26 Ultra Expert RAW Guide: Understanding Control Beyond Auto

SammyGuru is reader-supported. We have affiliate and sponsored partnerships, so we may earn a commission when you buy through links on our site — at no extra cost to you. Learn more.
Expert RAW on the Galaxy S26 Ultra isn’t just another shooting mode; it represents a shift in how control is shared between the user and the system. While Auto mode has evolved to deliver consistent, balanced results, it still prioritizes safety. Expert RAW changes that dynamic; not by removing processing, but by letting you guide it. Because what you’re working with here isn’t traditional RAW. It’s a computational pipeline that still thinks, but now listens.
What Expert RAW Actually Changes
At first glance, Expert RAW feels like a manual mode layered on top of Samsung’s camera system. But in real-world use, it behaves very differently. It still relies on multi-frame processing, HDR stacking, and scene optimization, yet it gives you influence over how those decisions are made.
You’re not replacing the system. You’re stepping into it. This distinction matters because the output isn’t just flatter or more editable, but also more predictable. In scenes where Auto tends to over-brighten, over-sharpen, or misjudge dynamic range, Expert RAW holds a more neutral baseline that you can refine rather than correct.
Setting It Up the Right Way
The setup phase is where most users either unlock Expert RAW or limit it without realizing. These aren’t simple toggles. They define how stable and consistent your output will be across different scenes.
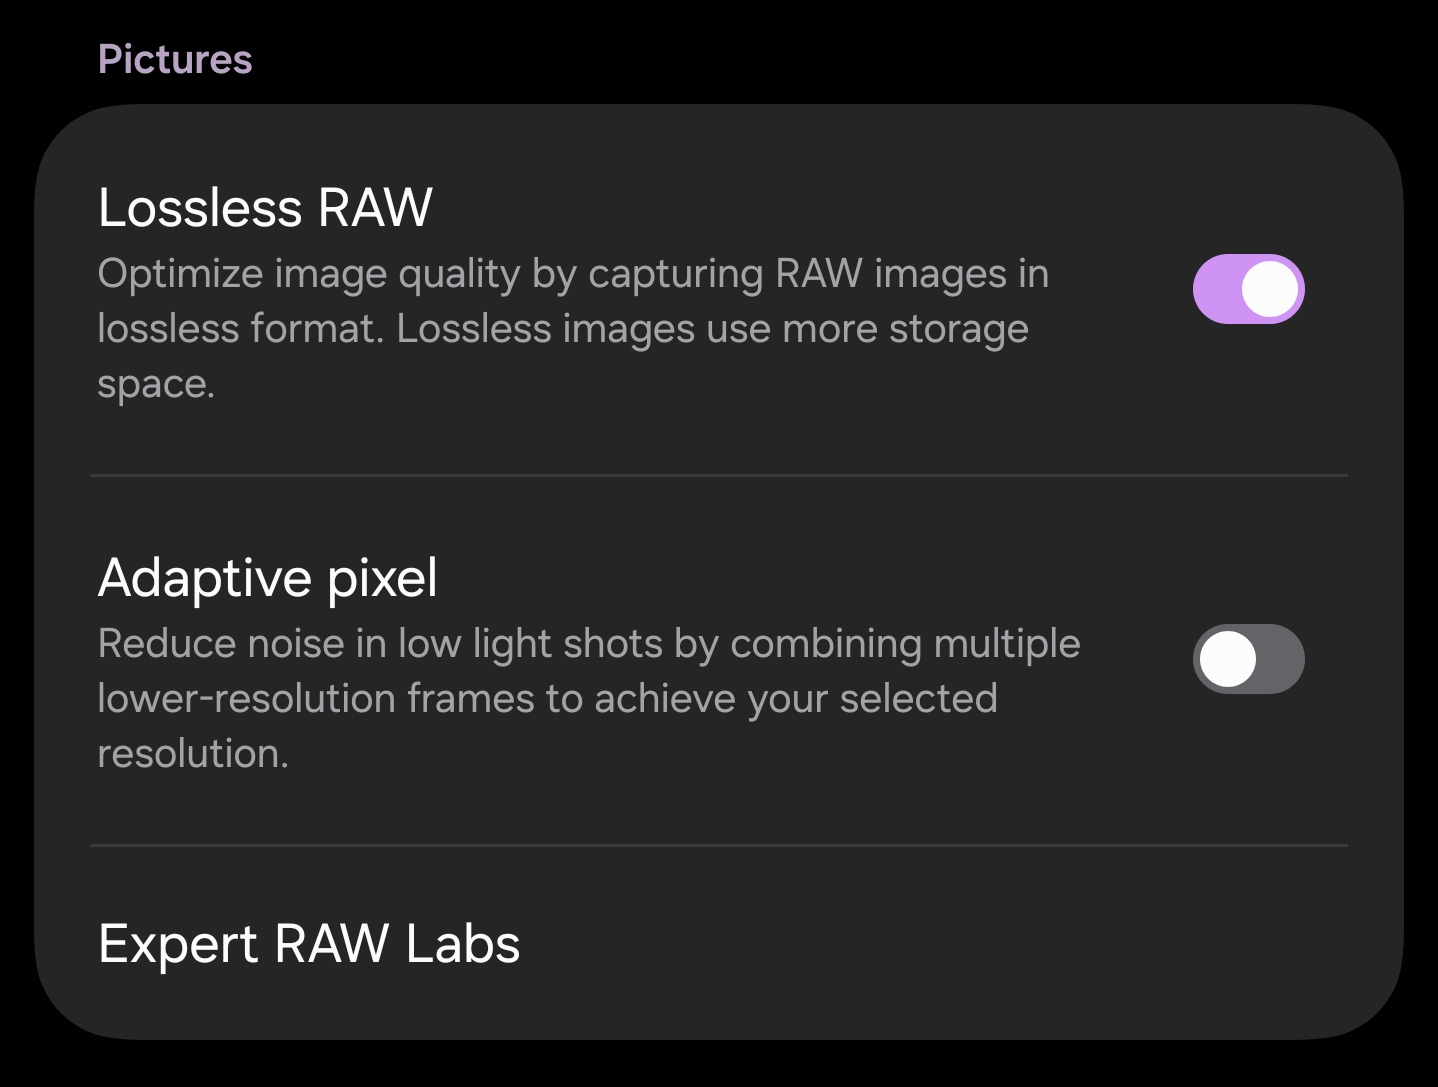
Enabling lossless RAW ensures maximum data retention, especially in shadows and highlights. This becomes critical in high-contrast environments where recovery flexibility defines the final image, not just the initial capture.
Adaptive Pixel, on the other hand, works against consistency in this mode. While it helps brightness in Auto, it introduces unpredictable blending in RAW output. Disabling it keeps the pipeline cleaner and avoids artifacts that are harder to fix later.
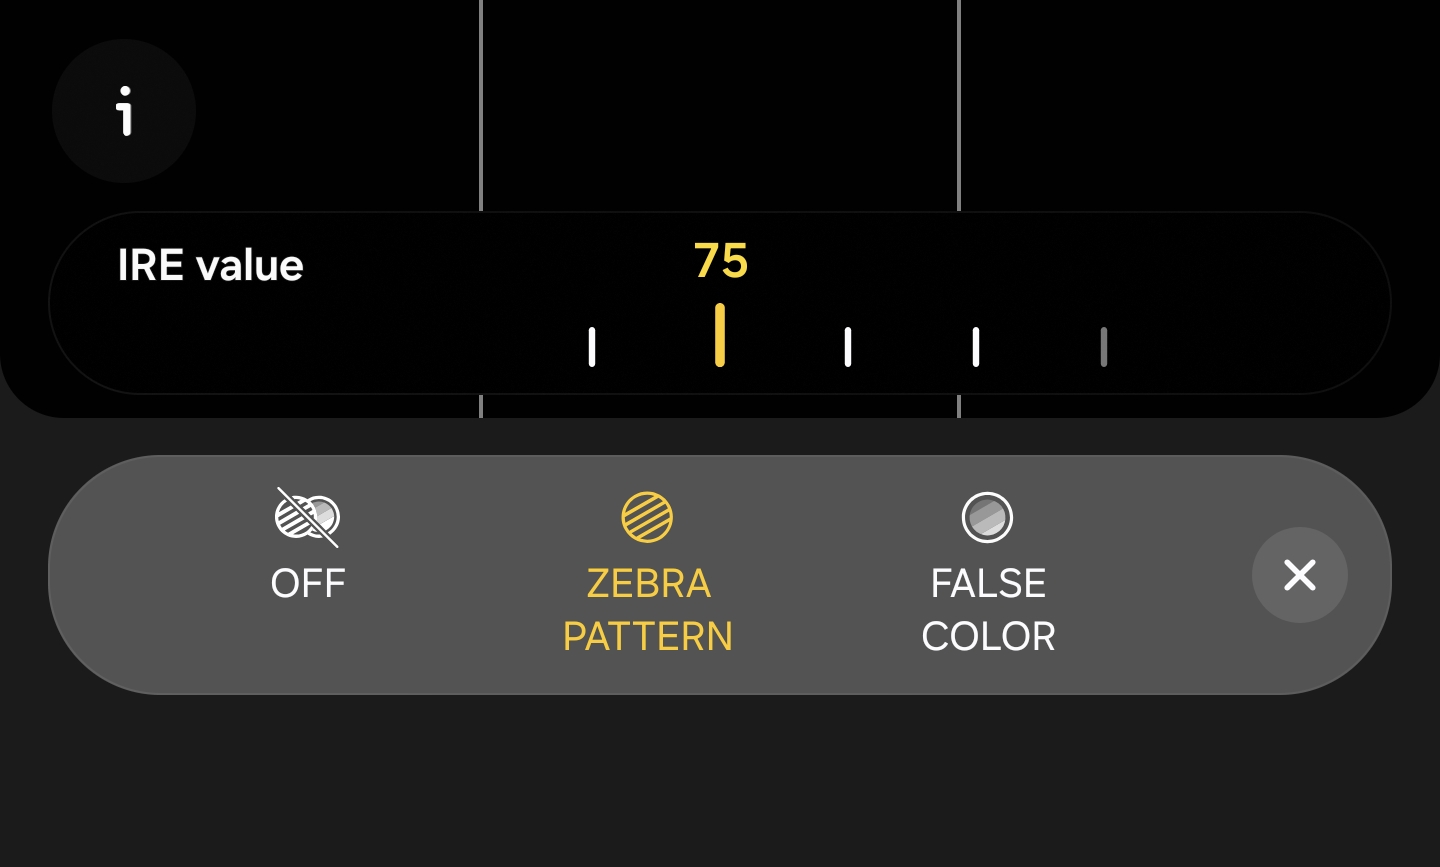
Zebra pattern is where control becomes visual. Setting it to 75 gives you a real-time reference for highlight clipping, removing the guesswork from exposure. You’re no longer reacting after the shot—you’re adjusting before it happens.
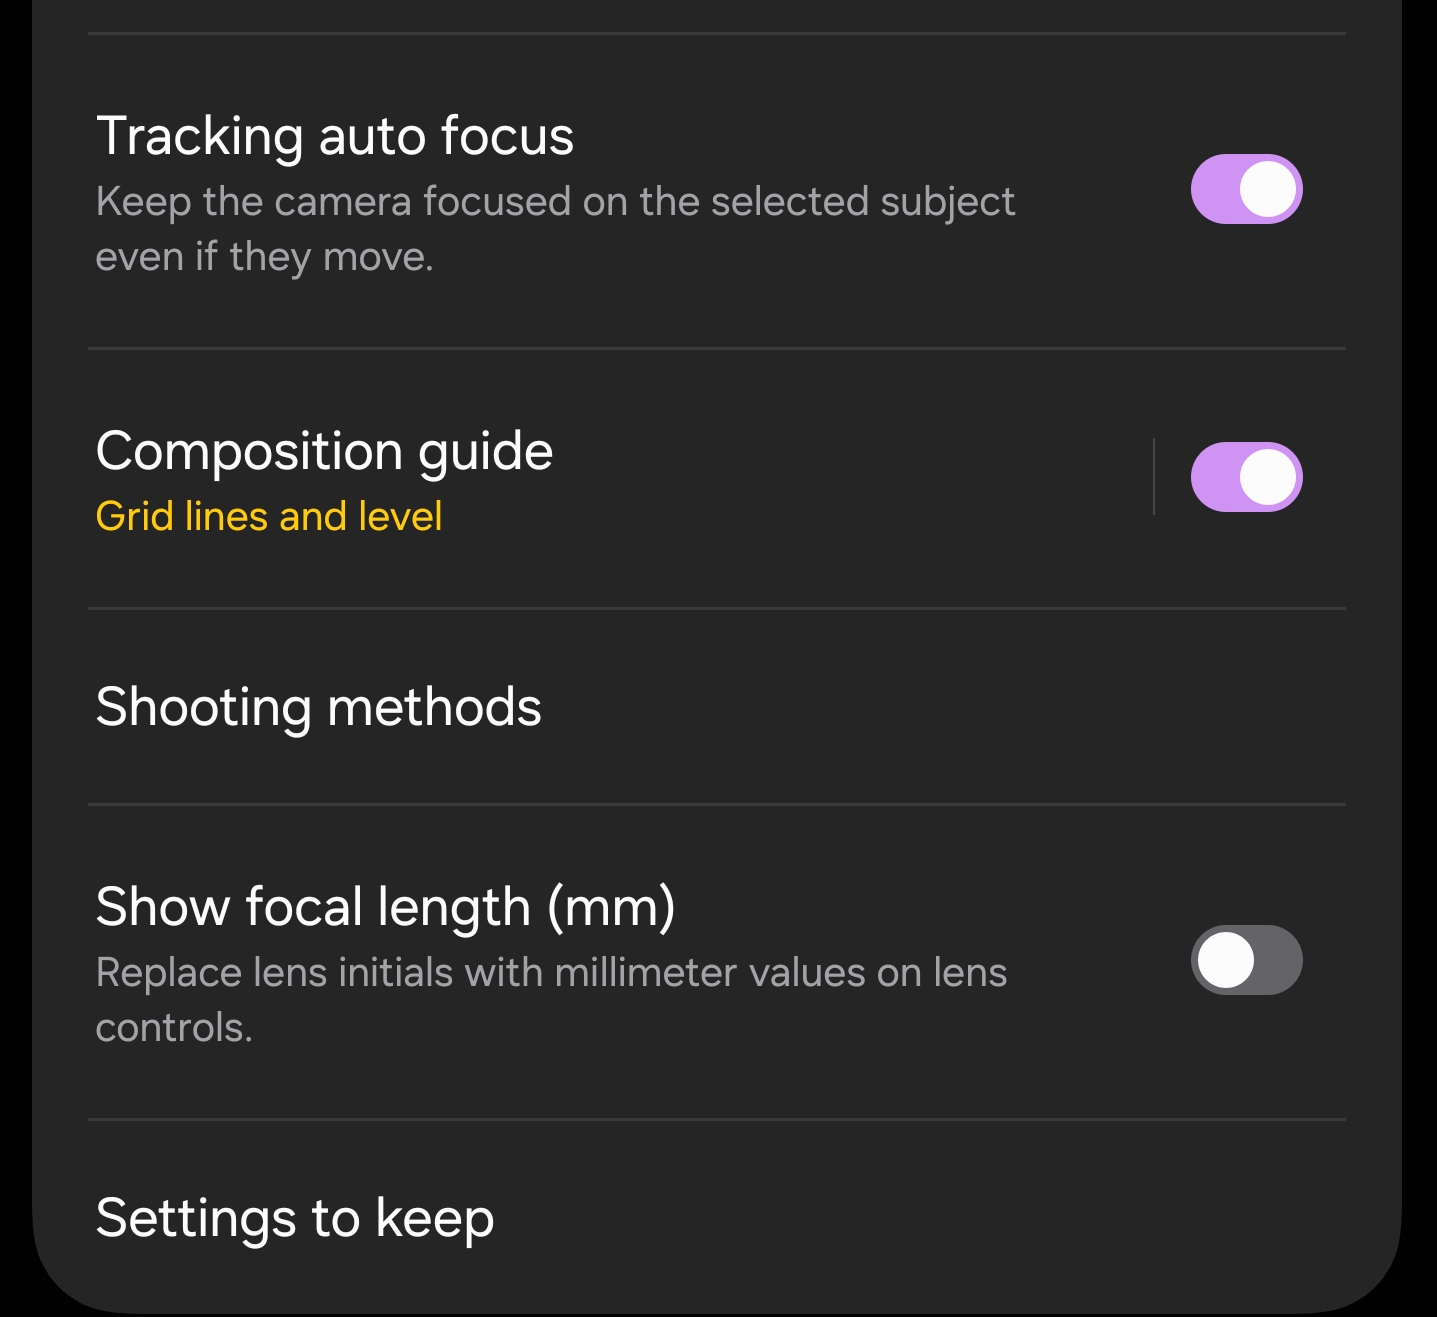
Tracking autofocus should remain active. With multi-frame capture already introducing slight delays, losing focus stability creates more problems than it solves. Consistency across frames matters more than absolute control here. ( Keep it on, and it will automatically turn on/off once 12MP Mode is in use.)
Saving both RAW and JPEG provides flexibility without slowing you down. One file is ready immediately, the other holds the full depth of the scene when you need it.
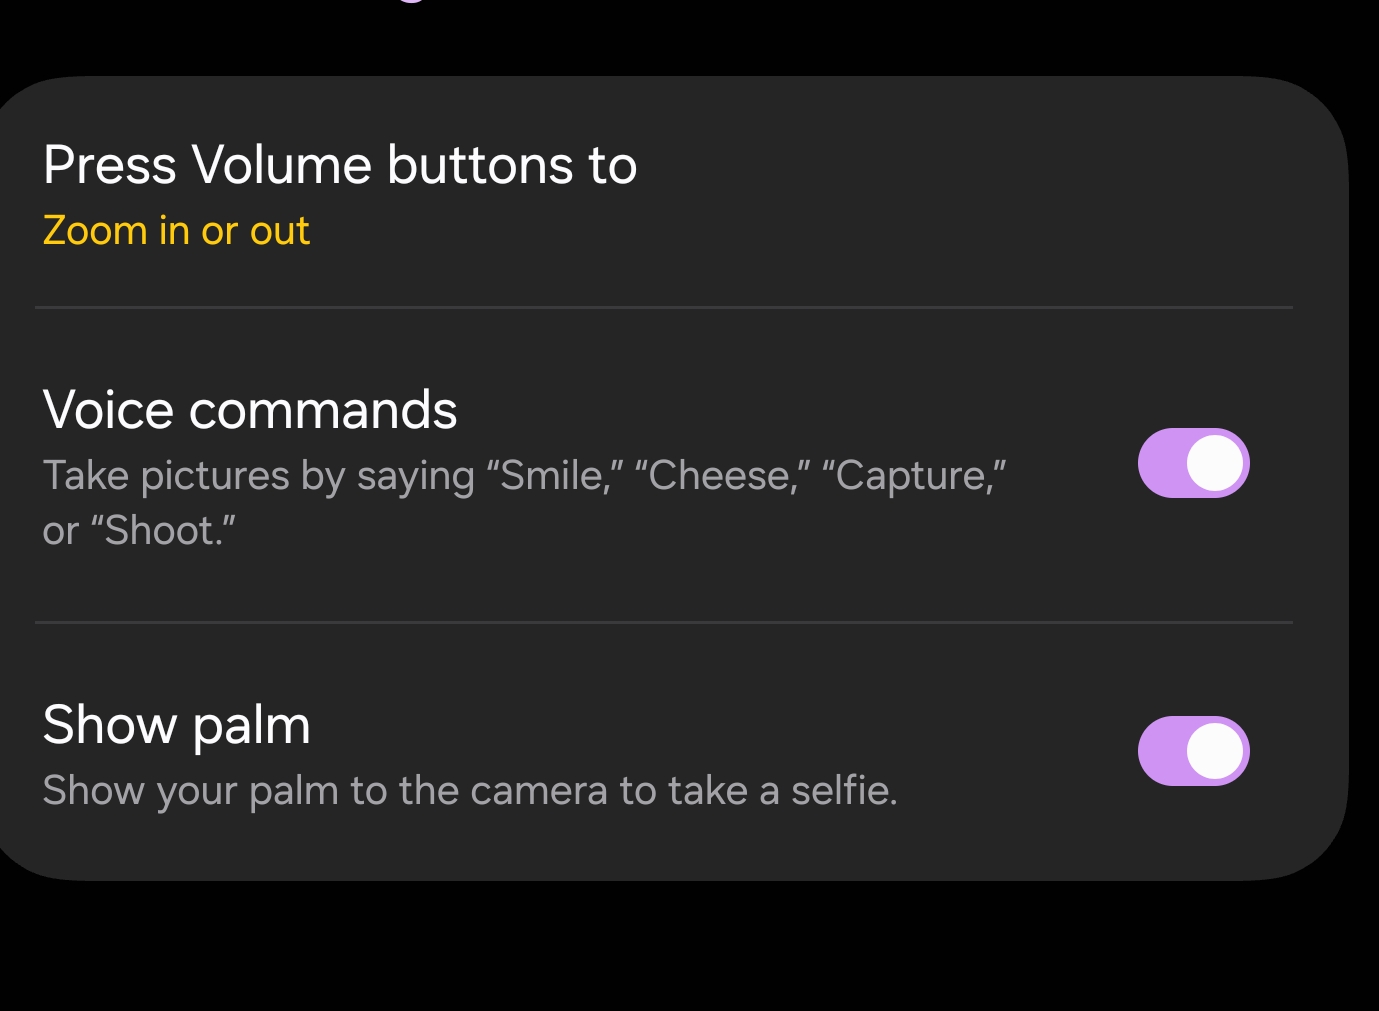
Shooting method in Expert RAW remains identical to the default camera. Using the volume keys for zoom control allows faster and more precise adjustments. It removes the need to rely on on-screen sliders, which can slow you down in real shooting scenarios.
Composition Guide should be enabled as well. It’s a subtle tool, but it helps maintain balance and framing consistency, especially when you’re focusing on exposure and technical adjustments at the same time
Voice commands also add flexibility. Simple triggers like “shoot,” “smile,” or “take picture,” along with palm detection for selfies, help in situations where physical interaction with the device isn’t ideal. However, this is where limitations start to show.
Expert RAW currently doesn’t support remote control from a Galaxy Watch. It only works with the standard camera app, which creates an unnecessary gap in usability. Previously, the Bluetooth S Pen on Ultra models offered remote functionality, and it handled this role well before being removed.
Labs Features: More Than Experimental
Samsung’s Labs section might look experimental, but it quietly reveals where the system is heading. Some features are niche, but others fundamentally change how the camera behaves.
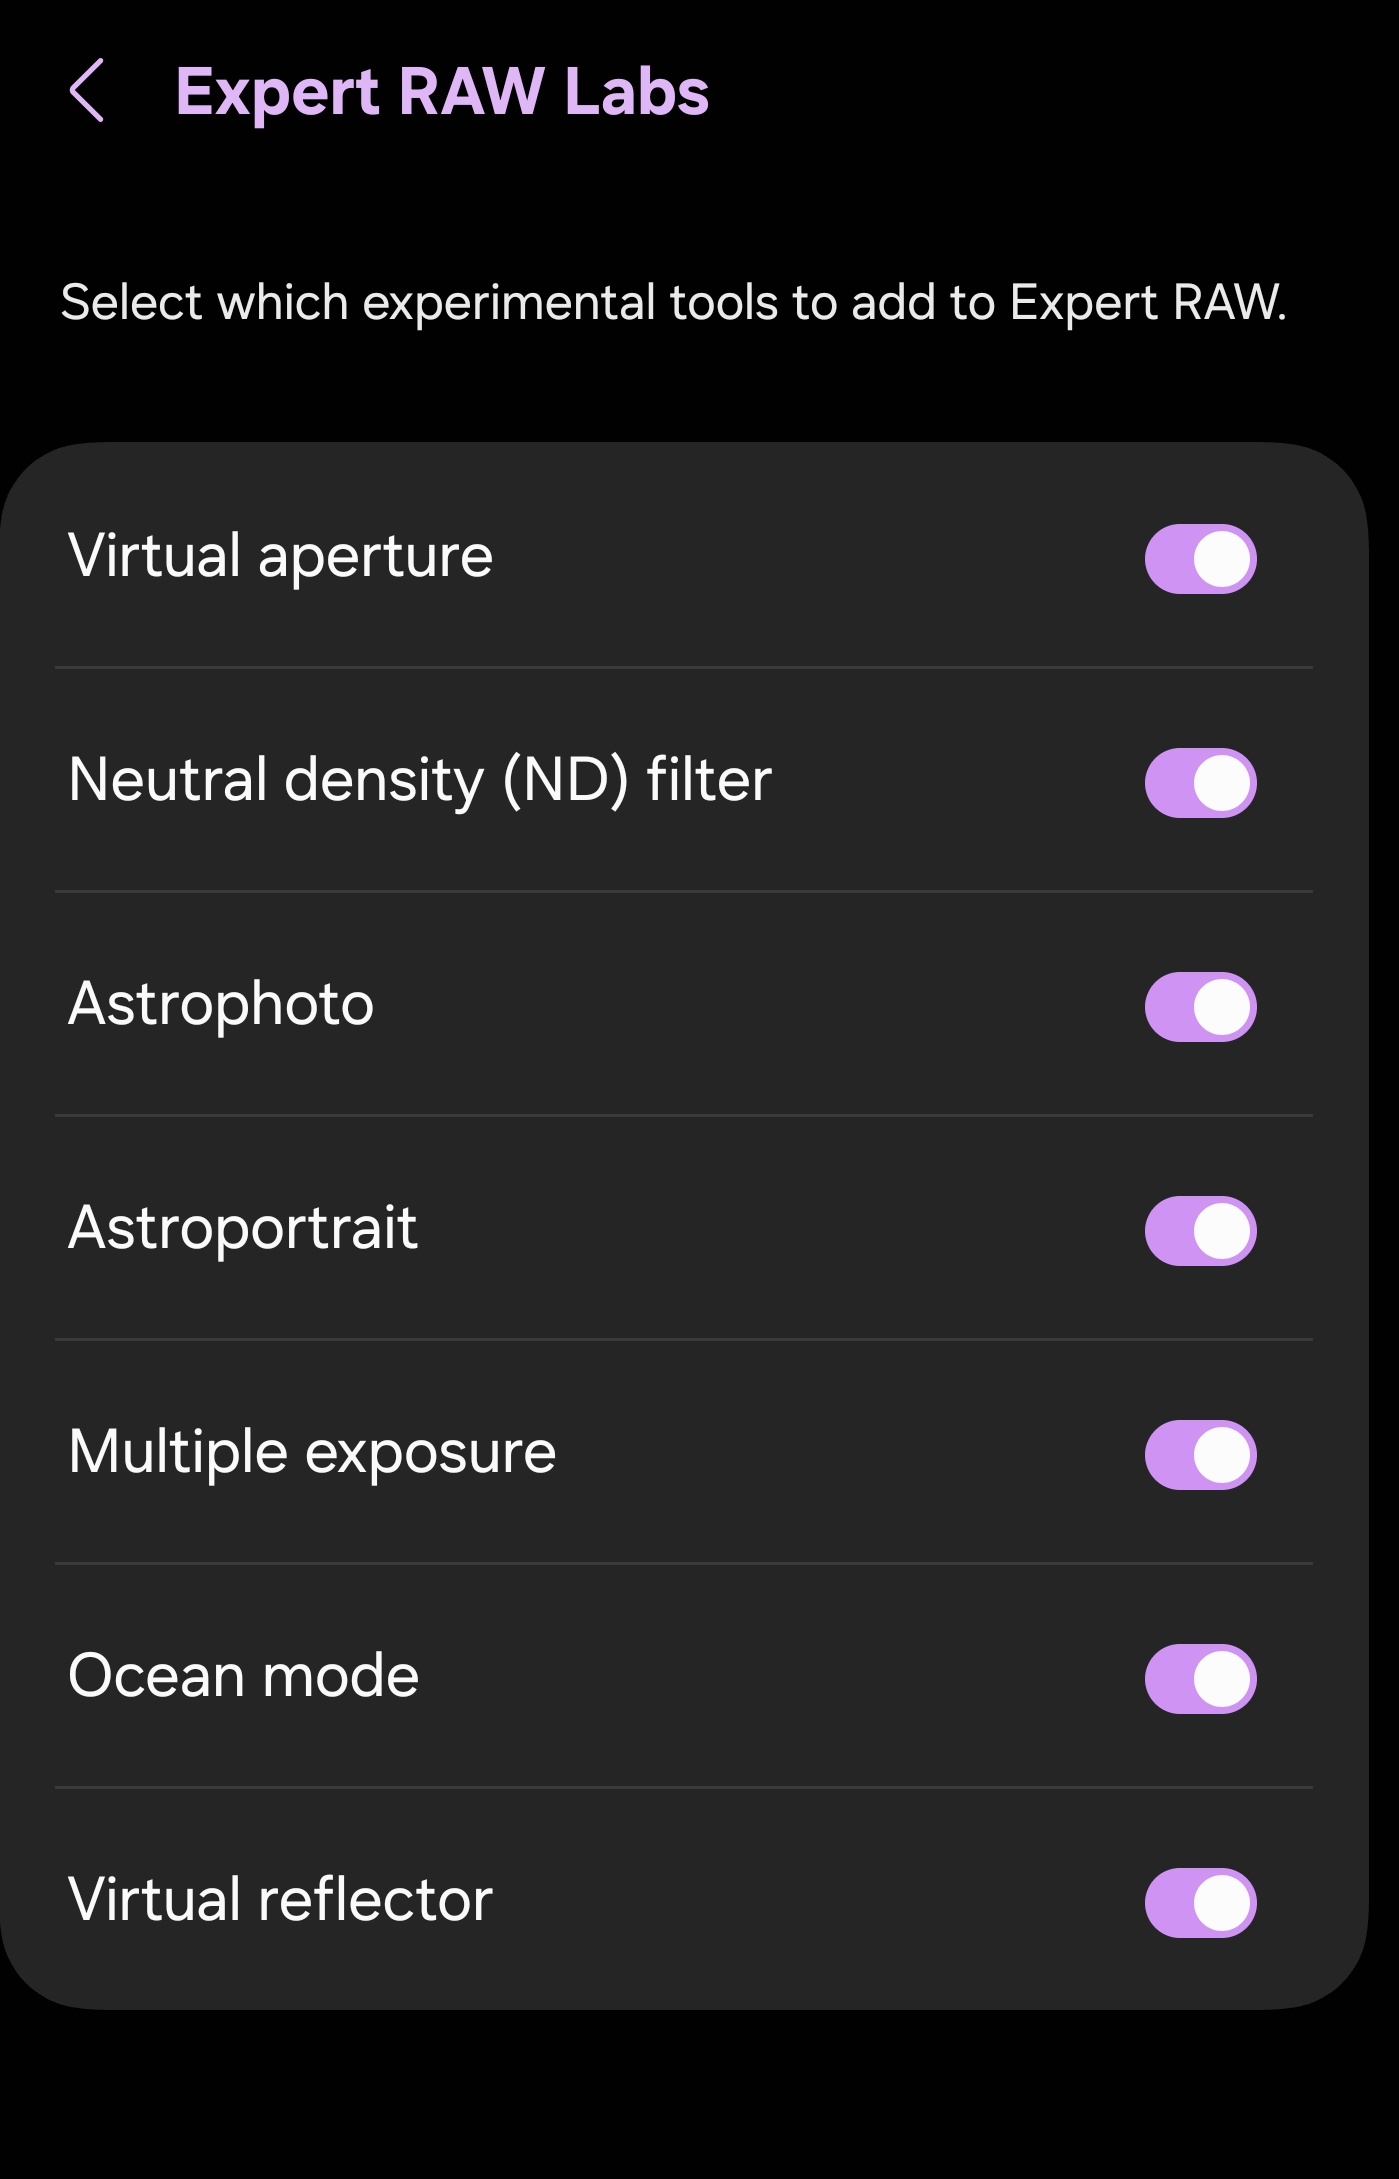
Virtual Aperture is less about dramatic blur and more about consistency. It maintains a controlled depth look across frames, which becomes noticeable when shooting sequences rather than single images.
Virtual Reflector stands out more. It delivers one of the most natural outputs in Samsung’s processing pipeline, especially within the main optical zoom range. Contrast is more controlled, sharpening is reduced, and the image feels less “processed” without losing structure.
This is where the system starts to feel intentional.
Astrophotography and Astro Portrait modes push into extreme scenarios, relying heavily on stability and time. Multi exposure introduces creative layering, while ND mode simulates long exposures without physical filters.
Not every feature will be used daily, like ocean mode. But together, they show that Expert RAW isn’t just about control, but also about extending what the system is capable of.
Best Modes and Resolution for Daily Use
Not all modes in Expert RAW behave equally, and this becomes clear the moment you start switching between them in real-world conditions.
Virtual Reflector consistently delivers the most balanced results across 1x, 3x, and 5x. Images come out cleaner, with less aggressive sharpening and more controlled contrast, while maintaining a natural look in both daylight and low light. The 12MP output may seem limited on paper, but in practice, it holds up remarkably well.
This is where Samsung’s processing feels most refined, and where Expert RAW starts to make sense as a daily tool.
Using 200MP or 50MP inside Expert RAW might seem like the logical step for maximum detail, but in practice, these modes are not truly lossless. They rely on additional processing and data compression that reduces the flexibility you expect from RAW. The files may look sharper at first glance, but they carry less usable information when pushed.
24MP and 12MP, on the other hand, maintain a far more stable pipeline. They preserve cleaner data, respond better to editing, and avoid the inconsistencies introduced by high-resolution processing. This is one of those cases where more resolution doesn’t mean more control.
Beyond 5x, the system shifts. Virtual Reflector is no longer available, and standard RAW becomes the only option. At moderate zoom levels, around 24MP output up to 9.9x, the balance between detail and processing remains stable.
For longer ranges, Auto mode often becomes more reliable in daylight at 12MP, especially between 20x and 30x. However, Expert RAW still holds an advantage in tricky lighting conditions between 20x and 25x, where manual control and RAW flexibility allow better recovery and tuning.
Using Expert RAW in Real Shooting
The way you approach Expert RAW matters more than any single setting. It’s not about forcing manual control; it’s about knowing when the system needs guidance.
Starting in Auto settings within Expert RAW often produces the best baseline. In good lighting, ISO is already optimized, and the pipeline is stable. Instead of adjusting everything, focusing on metering provides faster and more accurate control.
Matrix metering handles most scenes well, but switching to spot metering can instantly correct exposure in complex lighting. It’s a small adjustment with a noticeable impact.
The exposure slider becomes your primary tool. Combined with Zebra pattern at 75, it allows you to manage highlights in real time. If clipping appears, you see it immediately and can correct it before capture.
The shot itself remains quick. The difference comes after, where processing takes slightly longer than Auto mode. But what you gain is data that holds up under pressure, especially when editing or recovering difficult scenes.
When to Go Manual
Manual control in Expert RAW should be deliberate, not default. The system is already doing a significant amount of work, and stepping in only makes sense when conditions demand it. In low light, ISO becomes the key variable. Keeping it as low as possible preserves detail and reduces noise, with ISO 640 acting as a practical upper limit for cleaner results.
Shutter speed then becomes a balancing tool. If the scene is static, slower speeds improve image quality by allowing lower ISO. But once motion enters the frame, priorities shift instantly, and responsiveness becomes more important than perfection.
This is where your fast motion setup comes in. Because in motion, hesitation costs more than noise. And that’s where understanding the scene matters more than adjusting settings.
The Role of the Viewfinder
Everything in Expert RAW comes back to one principle: what you see is what you get. The viewfinder is not a rough preview; it’s a close representation of the final output. If highlights are clipping, if motion looks soft, or if exposure feels off, those issues won’t disappear in processing.
Expert RAW doesn’t hide mistakes behind computation. It surfaces them earlier, giving you the chance to correct them before capture. So just trust the viewfinder, and that changes how you shoot.
Follow us on Google Discover & set us as a preferred source in Google News
Share this Post
___________________________


New Blog Posts
___________________________
Samsung Quietly Listed a New Entry Level 990 PCIe 4.0 SSD
It drops DRAM for HMB

Samsung’s First Bone-Conduction Earbuds May Be Called Galaxy Able
Name hidden no more
Samsung Accidentally Confirms Galaxy Watch 9 and Galaxy Watch Ultra 2
Coming very soon