Hidden Gems in Samsung Expert RAW (1) — Multi Exposure
")
SammyGuru is reader-supported. We have affiliate and sponsored partnerships, so we may earn a commission when you buy through links on our site — at no extra cost to you. Learn more.
Samsung’s Expert RAW app is often misunderstood. Most users treat it as a smarter Auto mode, a way to get a ready-to-share JPEG alongside a flexible RAW file for editing. And yes, it does that very well. But that’s only the surface.
Hidden inside Expert RAW are creative tools that most users never touch; not because they don’t want to, but because Samsung barely explains them. When used properly, these tools unlock results that simply aren’t possible with the stock Camera app.
In this series, I’m breaking those tools down one by one — Multi Exposure, Digital ND, Astrophoto, and Astro Portrait. I’m starting with one of the most powerful and misunderstood features: Multi Exposure.
Multi Exposure: Real Creative Control, Not an AI Trick
Multi Exposure in Expert RAW is one of Samsung’s most overlooked tools, and one of its most powerful too. This is not an automated effect. You are manually capturing and blending multiple exposures, frame by frame, directly in-camera.
Each frame is previewed before blending. You control alignment. You decide when to shoot the next frame: you can shoot continuously, or pause between frames for deliberate composition. This opens the door to motion trails, double-exposure portraits, silhouettes, and layered storytelling images, all without relying on post-processing tricks. Unlike AI filters, you decide what stays and what disappears.
-

- 5x Multi Exposure
-

- 10x Multi Exposure
-

- 5x Multi Exposure
-

- 2x Multi Exposure
Full Manual Control
Expert RAW gives you full manual control in Multi Exposure:
- ISO
- Shutter speed (1/12,000s to 30s)
- White balance
- EV
- Metering

You can blend anywhere from two to nine exposures. In Manual mode, you can even select images directly from your Gallery instead of shooting everything live — a rare level of flexibility on a smartphone. This is where Expert RAW starts behaving like a real creative tool, not a phone camera mode.
Understanding the Blend Modes, Where the Magic Actually Happens
Multi Exposure becomes powerful once you understand how blending works.
Add (recommended)
- Brightness values are literally added together. Bright elements accumulate fast.
- Perfect for light trails, fireworks, neon motion, but also the easiest way to overexpose. Trust your viewfinder and adjust ISO, shutter speed, and EV accordingly.
Average
- Pixel values are averaged across frames.
- This produces the most natural and balanced results, reduces noise, and works beautifully for controlled double exposures.
If you’re unsure where to start, this is the safest and most flexible mode.
Bright
- Only the brightest pixel values are preserved. Dark areas are ignored.
- Ideal for star trails, light painting, or isolating moving highlights against a dark background.

A 20x simple example of how to use Bright and Dark by taking a Bright banner and blending it live with another frame.
Dark
- The opposite of Bright — it preserves the darkest values and suppresses brighter elements.
Surprisingly useful for removing moving people, simplifying busy scenes, or creating strong negative-space compositions.
Expert RAW is Really Expert
These are real photographic blending techniques — not gimmicks — and they reward intentional shooting. Expert RAW has more such hidden gems. I’ve already explained Virtual Aperture in detail. Unlike the stock Portrait mode, Virtual Aperture is a different system — more stable, more consistent, and closer to DSLR-like depth rendering.
What’s Next: Multi Exposure is only one piece of what Expert RAW can do. This series will continue with:
- A full deep dive into Expert RAW workflows — when to use it, when not to, and how to avoid common mistakes.
- Digital ND — long exposure without filters.
- Astrophoto — real sky stacking, not a filter, and Astro Portrait — combining people and stars in one frame
Stay tuned. 💎📸
Follow us on Google Discover & set us as a preferred source in Google News
Share this Post
___________________________


New Blog Posts
___________________________

Don’t Wait for Galaxy A27, Galaxy A37 is a Much Better Deal
Don’t miss this Galaxy A37 deal if you want a solid budget phone

Samsung Wins Top Honor in Home Appliance After-Sales Service
This is the second consecutive year for such recognition
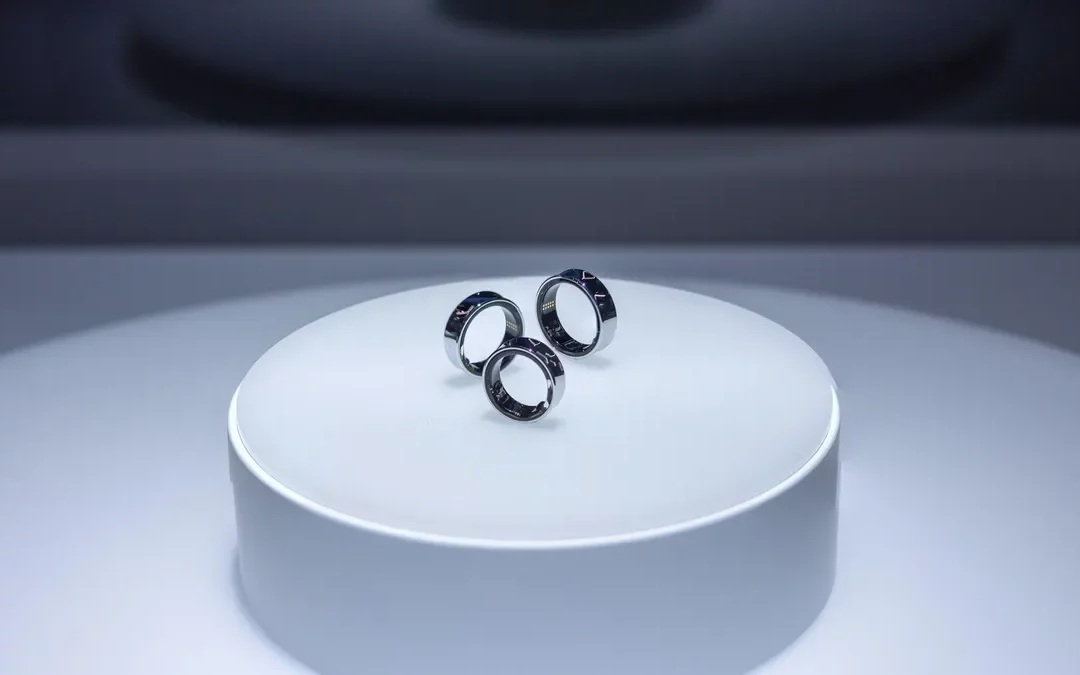
After Foldables, Samsung May Have Inspired Apple to Make Smart Rings
Samsung showed that smart rings don’t have to replace smartwatches